

It has been raining here it seems for weeks and weeks and weeks and weeks and weeks... lol - get the picture! It seems we have had weeks with LOTS of rain! However, this past weekend, the sun came out in all its glorious splendor, and my husband and I decided it was a perfect opportunity to take an afternoon drive.
Already the trees have lost most of their leaves, but there were still leaves left on the tree to showcase the brilliant contrast between leaf and sky.

Even though we do not live in the northeast where the majority of trees are hardwood, there is enough color in the trees and shrubs here to paint very striking pictures.

As we drove along, the view expanded to open fields with mountains scattered in the distance.

But, it wasn't long until we turned off on a side road with lots of pine trees. We usually try to take the "least traveled path" on our ventures out on days like this, and most of the time we have not been down these roads before, or have passed by them, without having time to explore them.

But today, we had all the time we needed, and a glorious sunshine filled sky, and so we rambled along.

Came across a beautiful log home tucked back in the pine trees set up against the mountains with a large open field in front. What I wouldn't give for a view like that!

The tamaracks showing off their stately orange colors.

As we turned down another logging road, the sky above us seemed to darken. I loved the contrast between the sky and the tamarack.

The sky did look rather forboding, but we continued on anyway.


There is something about the unknown road ahead that beckons!

The tamaracks still with their lovely orange colors lingering on.

Loving the contrast of shadows and light here with the bright orange...

It did look like a storm was brewing off to the east...

But our curiosity begged us to continue... lol... and so we did!
Then we came to a little area with a pull-off located off to the right of the road. We pulled over, and got out to explore. This is what we found...

Three creeks coming down off the mountains were meeting up in this one little spot, and it was simply beautiful!

It was a beautiful little oasis of water pooling out in the middle of nowhere...

Two large cedars stood guard over the pools of water from the three creeks that had joined together to form a single creek flowing down to the river.

The water reflecting the clouds in the sky..

A couple of overturned trees created a bridge across the stream. I didn't have on proper shoes to cross, and didn't want to spend the rest of the day with wet feet, but my husband walked across to the other side.
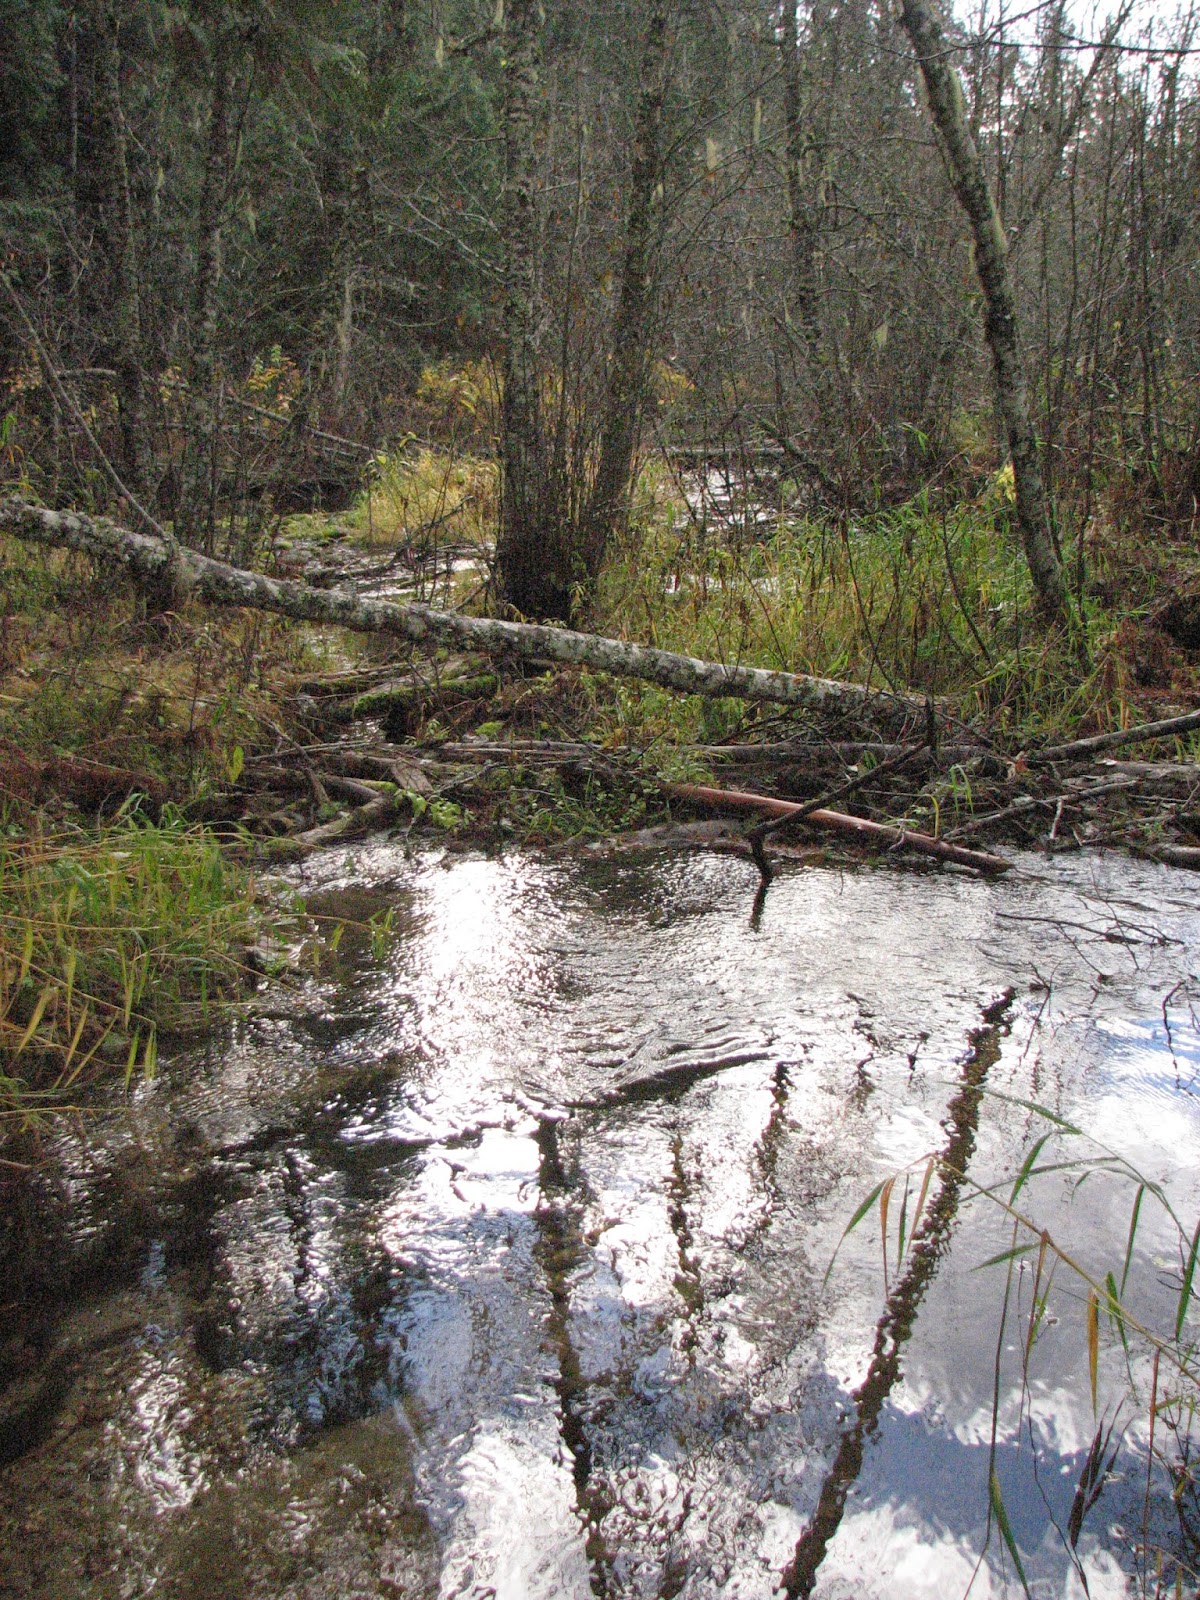
It was such a beautiful and peaceful setting.

The leaves were showing signs that fall was here, in all its glory.

We stayed here quite a while just soaking in the beauty of this little haven out in the middle of a bunch of logging roads out in the middle of the mountains...


The sun seemed to be winning today, and the clouds continued breaking up as we drove.

We continued to follow the main logging road we were on, and just now we turned a corner, and we spotted a momma moose and her calf on the road in front of us.

She had her yearling with her and they were in a hurry to get up the mountain ahead of us.
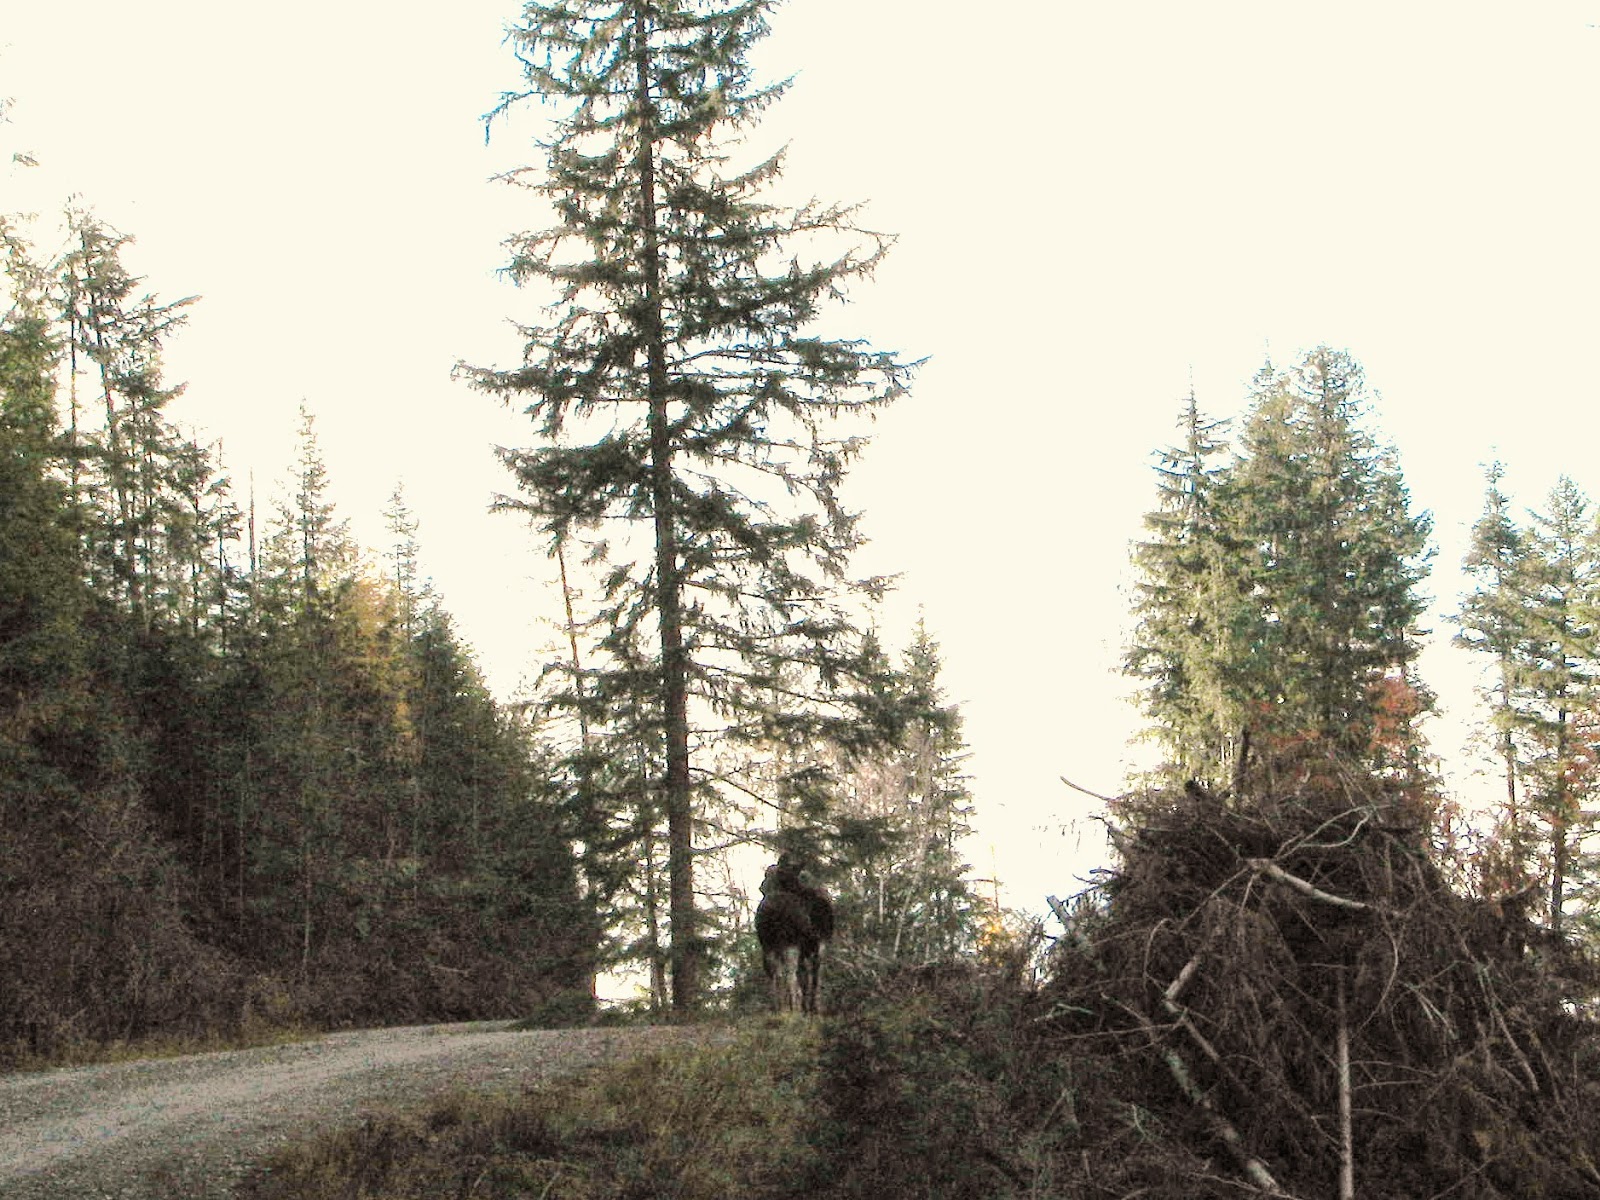
They were moving right along, at least 15-20 miles an hour!

They galloped up the road at a pretty good rate of speed, so that they would "lose" us on the turns. We were on a switchback at this point.

We hung back quite a distance from them, as we did not want to scare them, but still wanted to be close enough to see them. You can see in the above picture that they were moving pretty fast!

They did not let us get close enough for a good picture, but abruptly turned, and ran up this hill into the brush and disappeared. It was just enough excitement though to make the afternoon drive really "moose-t" lovely!

We continued on our drive, and didn't spot any other wildlife, although I'm sure they were there!

The logging road evened out on a plateau, and we were treated to this glorious view!

We could see the large lake north of us, and mountain ranges that stretched probably clear to Canada and Montana.

I couldn't resist a closeup of the tamaracks.

Beautiful, isn't it! We were up pretty high, as you can probably tell.

A view behind us of the logging road we were on.

As we continued down the trail, we came upon a rustic, heavily treed and shaded camp site that even sported its own outdoor potty! Rustic - oh my!

The campsite was perched alongside this creek (the same one we had been following around the mountain)

It was a gorgeous creek bed.

The water from the creek was cold and clear.

Another beautiful spot that we enjoyed walking around and exploring.

It wasn't long after we left this creek that the road began to slope downward, and we were soon back on the main road, and headed back home. It turned out to be a very beautiful and lovely afternoon drive, and we even got to see some wildlife, which always makes any drive sweeter! We live in such an amazing place, so much to see, and it is one of our favorite things to do when we have time to spare, to just explore the logging roads which meander around all the mountains. I always say that God's creative design is far better than any creation of man's!
Already the trees have lost most of their leaves, but there were still leaves left on the tree to showcase the brilliant contrast between leaf and sky.
Even though we do not live in the northeast where the majority of trees are hardwood, there is enough color in the trees and shrubs here to paint very striking pictures.
As we drove along, the view expanded to open fields with mountains scattered in the distance.
But, it wasn't long until we turned off on a side road with lots of pine trees. We usually try to take the "least traveled path" on our ventures out on days like this, and most of the time we have not been down these roads before, or have passed by them, without having time to explore them.
But today, we had all the time we needed, and a glorious sunshine filled sky, and so we rambled along.
Came across a beautiful log home tucked back in the pine trees set up against the mountains with a large open field in front. What I wouldn't give for a view like that!
The tamaracks showing off their stately orange colors.
As we turned down another logging road, the sky above us seemed to darken. I loved the contrast between the sky and the tamarack.
The sky did look rather forboding, but we continued on anyway.
There is something about the unknown road ahead that beckons!
The tamaracks still with their lovely orange colors lingering on.
Loving the contrast of shadows and light here with the bright orange...
It did look like a storm was brewing off to the east...
But our curiosity begged us to continue... lol... and so we did!
Then we came to a little area with a pull-off located off to the right of the road. We pulled over, and got out to explore. This is what we found...
Three creeks coming down off the mountains were meeting up in this one little spot, and it was simply beautiful!
It was a beautiful little oasis of water pooling out in the middle of nowhere...
Two large cedars stood guard over the pools of water from the three creeks that had joined together to form a single creek flowing down to the river.
The water reflecting the clouds in the sky..
A couple of overturned trees created a bridge across the stream. I didn't have on proper shoes to cross, and didn't want to spend the rest of the day with wet feet, but my husband walked across to the other side.
It was such a beautiful and peaceful setting.
The leaves were showing signs that fall was here, in all its glory.
We stayed here quite a while just soaking in the beauty of this little haven out in the middle of a bunch of logging roads out in the middle of the mountains...
Soon, it was time to continue on down the road. The little creek meandered along the road as we drove, and we saw many beautiful little waterfalls, log bridges... too many to stop every time, but we enjoyed them as we drove along.
The sun seemed to be winning today, and the clouds continued breaking up as we drove.
We continued to follow the main logging road we were on, and just now we turned a corner, and we spotted a momma moose and her calf on the road in front of us.
She had her yearling with her and they were in a hurry to get up the mountain ahead of us.
They were moving right along, at least 15-20 miles an hour!
They galloped up the road at a pretty good rate of speed, so that they would "lose" us on the turns. We were on a switchback at this point.
We hung back quite a distance from them, as we did not want to scare them, but still wanted to be close enough to see them. You can see in the above picture that they were moving pretty fast!
They did not let us get close enough for a good picture, but abruptly turned, and ran up this hill into the brush and disappeared. It was just enough excitement though to make the afternoon drive really "moose-t" lovely!
We continued on our drive, and didn't spot any other wildlife, although I'm sure they were there!
The logging road evened out on a plateau, and we were treated to this glorious view!
We could see the large lake north of us, and mountain ranges that stretched probably clear to Canada and Montana.
I couldn't resist a closeup of the tamaracks.
Beautiful, isn't it! We were up pretty high, as you can probably tell.
A view behind us of the logging road we were on.
As we continued down the trail, we came upon a rustic, heavily treed and shaded camp site that even sported its own outdoor potty! Rustic - oh my!
The campsite was perched alongside this creek (the same one we had been following around the mountain)
It was a gorgeous creek bed.
The water from the creek was cold and clear.
Another beautiful spot that we enjoyed walking around and exploring.

Have you ever eaten sprouted wheat bread? I'd never even heard of it much less baked with it a little over a month ago. I was searching for a good whole wheat bread recipe, when I came across a recipe that called for soaking the wheat berries until they sprouted, drying, and then grinding the wheat into flour, and making sprouted wheat bread. The idea of doing this really grabbed my attention, and I began researching different recipes to make sprouted wheat bread. I finally settled on a recipe using Kamut wheat berries, which I had purchased locally.
One of the websites that I visited which had a lot of helpful information was this one: CulturesForHealth There was a wealth of information on this website that helped me understand why sprouting your wheat berries is so helpful to your digestive system when making bread.
When I began the process of sprouting the wheat berries, I did not remember to take pictures - can you believe that! However, I did find a picture on the internet very similar to what my berries looked like after they sprouted:
After the berries sprouted (it took about 2 days), I then dehydrated them.

After dehydration, I poured them into this jar and froze them, because (at the time) I had enough bread to last us for several days, and I wanted to wait until we needed fresh bread.

I began the process of milling the wheat berries into flour using my NutriBullet. At this time, I do not possess a grain mill, and so the next best option I had was to mill the flour using my NutriBullet.

After getting the flour milled as best as my NutriBullet could do, it was time to make the bread. I will share the recipe I used below.

Here is my Golden Kamut Bread that after its second rising and ready to be baked.

The bread after it was removed from the oven. This had to be the softest loveliest whole wheat bread I've ever made. Our family was incredibly impressed with how wonderful this bread turned out. There were a few extra steps involved in making this bread, but honestly - every step was worth it!
One thing that I have changed with this recipe, is that it really makes enough for 3 loaves, and not four. The recipe called for 4 loaves, and after forming my loaves, I realized that the four loaves were very small loaves. So the next time I make this bread (and I changed this in the recipe below), I will form the dough into three loaves instead of four. Our family prefers nice big slices of bread - like slices that hardly fit into the toaster, lol!
Making your own homemade bread is always incredibly satisfying, but there is a certain feeling of satisfaction that goes above and beyond making homemade bread when you soak, sprout, dry, grind, and make your own wheat bread! Not to mention the fact that this bread is very gentle on your stomach, and has a low-glycemic index, which is a huge added benefit for those keeping an eye on how many carbohydrates your body has to process. I look forward to making many more loaves of this lovely golden bread in the future. :)
4 cups Kamut flour (sprouted, dried, freshly ground)
1 Tbsp active yeast
1 tsp vinegar
Mix well until this forms a batter-like consistency. Cover and let sit 30 minutes to sponge.
Stir down batter and add:
1/2 cup extra virgin olive oil (or coconut oil, melted)
1/2 cup raw honey
1/2 cup vital gluten flour (optional)
1 tsp salt
Additional freshly-ground Kamut, enough to make a sturdy but moist dough, approximately 4-5 cups. Only add enough flour to have the dough form a ball and pull away from the sides of the bowl. Mix well until the dough holds together. If using a stand mixer, knead on medium-low for 5 minutes or until dough is smooth and springy, but not sticky. If kneading by hand, this will take 10-12 minutes on an oiled surface. Cover and let rise in a warm place until doubled, about 30-45 minutes.
Stir down dough, and divide into 3 equal portions. Shape each portion into a loaf, and place in a greased loaf pan to rise. Let rise for 30-45 minutes or until loaves are domed on top and have risen about 1-2 inches above the rim of the loaf pan. Preheat oven to 350 while bread is rising.
When oven and bread are ready, bake for 30-35 minutes or until bread is browned. Remove bread from oven. Remove bread from pans and place the loaves on a wire rack cooling sheet. Let loaves cool completely.
Optional: Brush melted butter over the loaves as they come out of the oven (this is something I always do to bread).
One of the websites that I visited which had a lot of helpful information was this one: CulturesForHealth There was a wealth of information on this website that helped me understand why sprouting your wheat berries is so helpful to your digestive system when making bread.
When I began the process of sprouting the wheat berries, I did not remember to take pictures - can you believe that! However, I did find a picture on the internet very similar to what my berries looked like after they sprouted:
After the berries sprouted (it took about 2 days), I then dehydrated them.
After dehydration, I poured them into this jar and froze them, because (at the time) I had enough bread to last us for several days, and I wanted to wait until we needed fresh bread.
I began the process of milling the wheat berries into flour using my NutriBullet. At this time, I do not possess a grain mill, and so the next best option I had was to mill the flour using my NutriBullet.
Here is my Golden Kamut Bread that after its second rising and ready to be baked.
The bread after it was removed from the oven. This had to be the softest loveliest whole wheat bread I've ever made. Our family was incredibly impressed with how wonderful this bread turned out. There were a few extra steps involved in making this bread, but honestly - every step was worth it!
One thing that I have changed with this recipe, is that it really makes enough for 3 loaves, and not four. The recipe called for 4 loaves, and after forming my loaves, I realized that the four loaves were very small loaves. So the next time I make this bread (and I changed this in the recipe below), I will form the dough into three loaves instead of four. Our family prefers nice big slices of bread - like slices that hardly fit into the toaster, lol!
Making your own homemade bread is always incredibly satisfying, but there is a certain feeling of satisfaction that goes above and beyond making homemade bread when you soak, sprout, dry, grind, and make your own wheat bread! Not to mention the fact that this bread is very gentle on your stomach, and has a low-glycemic index, which is a huge added benefit for those keeping an eye on how many carbohydrates your body has to process. I look forward to making many more loaves of this lovely golden bread in the future. :)
GOLDEN KAMUT SPROUTED BREAD
4 cups warm water (110 degrees)4 cups Kamut flour (sprouted, dried, freshly ground)
1 Tbsp active yeast
1 tsp vinegar
Mix well until this forms a batter-like consistency. Cover and let sit 30 minutes to sponge.
Stir down batter and add:
1/2 cup extra virgin olive oil (or coconut oil, melted)
1/2 cup raw honey
1/2 cup vital gluten flour (optional)
1 tsp salt
Additional freshly-ground Kamut, enough to make a sturdy but moist dough, approximately 4-5 cups. Only add enough flour to have the dough form a ball and pull away from the sides of the bowl. Mix well until the dough holds together. If using a stand mixer, knead on medium-low for 5 minutes or until dough is smooth and springy, but not sticky. If kneading by hand, this will take 10-12 minutes on an oiled surface. Cover and let rise in a warm place until doubled, about 30-45 minutes.
Stir down dough, and divide into 3 equal portions. Shape each portion into a loaf, and place in a greased loaf pan to rise. Let rise for 30-45 minutes or until loaves are domed on top and have risen about 1-2 inches above the rim of the loaf pan. Preheat oven to 350 while bread is rising.
When oven and bread are ready, bake for 30-35 minutes or until bread is browned. Remove bread from oven. Remove bread from pans and place the loaves on a wire rack cooling sheet. Let loaves cool completely.
Optional: Brush melted butter over the loaves as they come out of the oven (this is something I always do to bread).

It is hard to believe that winter is just around the corner! With all the glorious colors of fall all around us, every leaf that is falling to the ground appears to be whispering quietly as it falls... winter is coming, winter is coming! Each season passes far too quickly here.... except for winter! Winter just hangs around forever and ever... and then it never seems to fail that a dose of the cold or the flu seems to make its rounds.
One thing that I've always used to help fight back against colds is hot tea with a dollop of honey and a squeeze of lemon juice or perhaps apple cider vinegar, just depending on what is on hand. It is not often in the winter that I stock lemons, and so when I saw this recipe for preserved lemons, I immediately placed lemons on my grocery list for the week, and intended to try this out. This way, I'll ALWAYS have lemons on hand, ready for that cup of hot tea in a jiffy!
I found the recipe for the Preserved Lemons from Shaye Elliot's book "From Scratch" (which, by the way, is an amazing book!). Here's how I made them...
First off, you want to scrub the lemon skin really well, because you will be preserving the entire lemon. It is best if you can use organic lemons. I couldn't find any organic lemons in my local market, so I went with what I could find.

Take the lemons, and slice them up, and then quarter each slice. Place the lemons in a bowl.
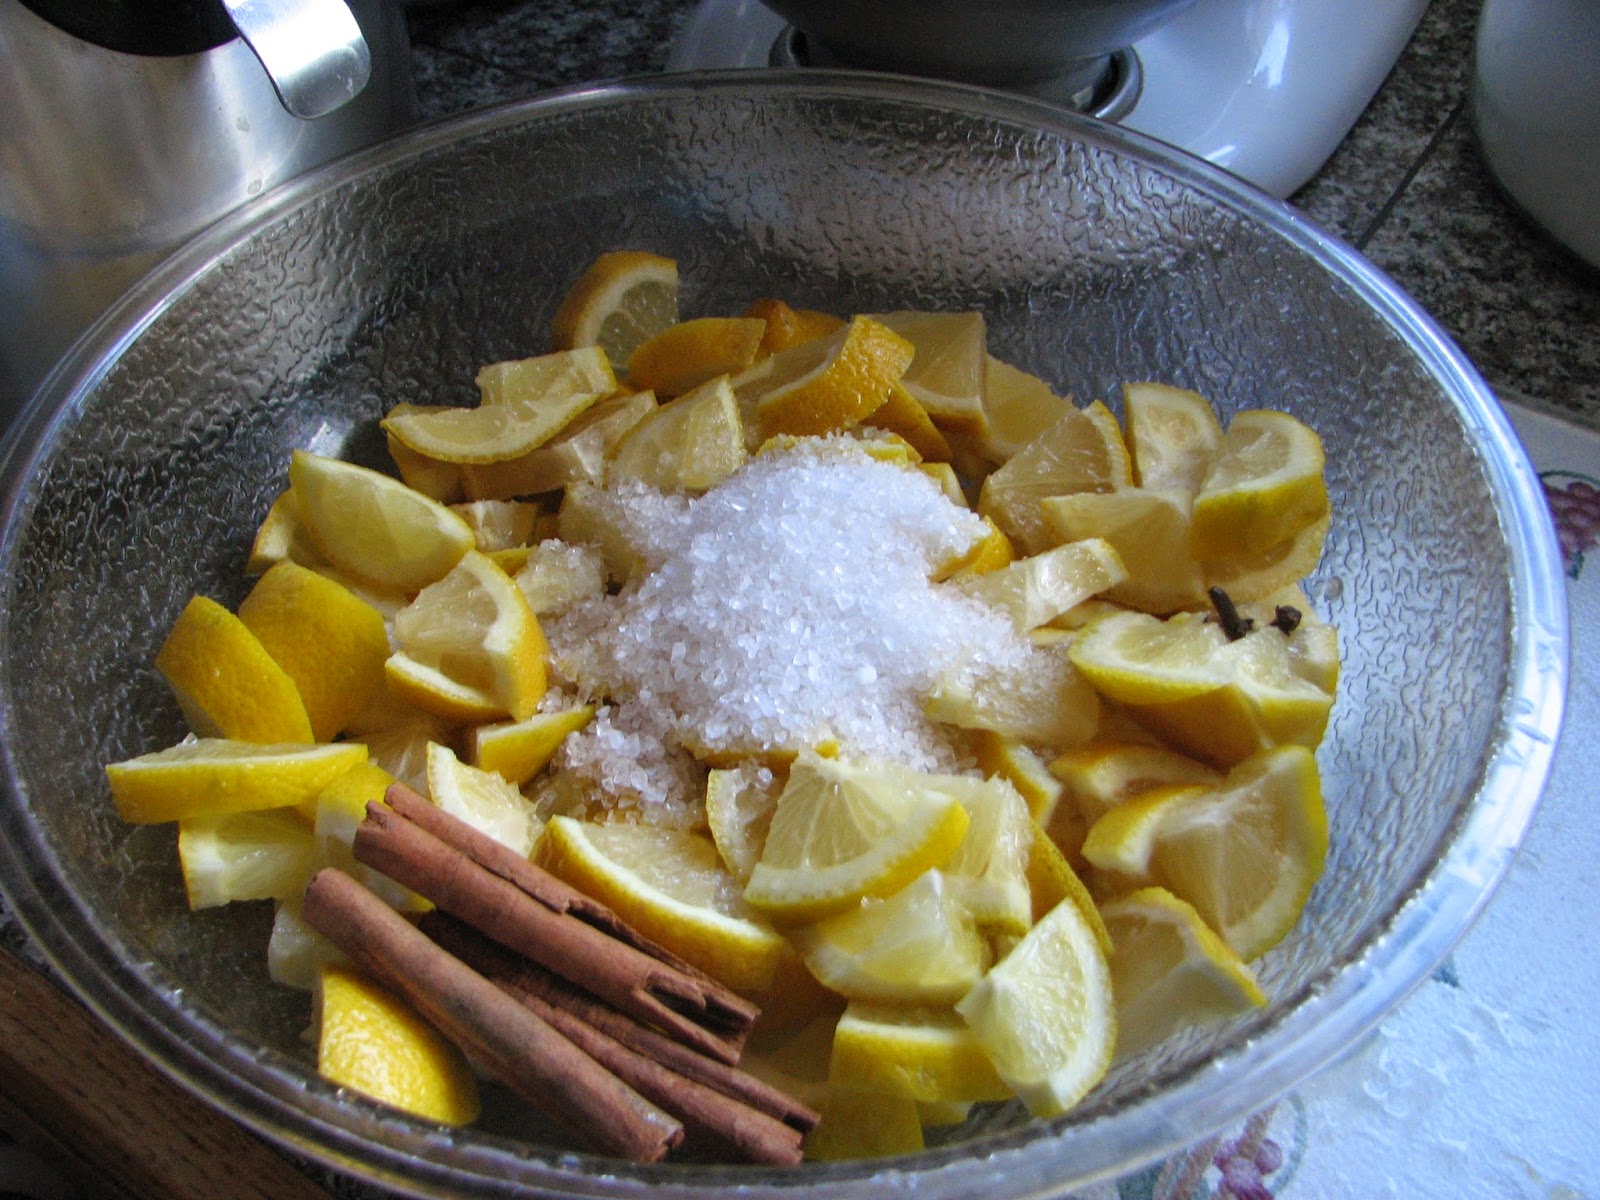
Add 3 Tbsp sea salt, 3 cinnamon sticks, and a pinch of whole cloves.

Now comes the fun part. Take your lemons, and add them to a clean quart-size jar. Pack the lemon mixture in tightly, pressing down with a spoon to squeeze out as much juice from them as possible.

Here you can see the juices being released from the lemons.

You will need the juice from an additional 2-3 lemons poured over the lemons in order to completely cover the lemons in juice. Leave at least 1-inch of head space to allow for expansion during fermentation.
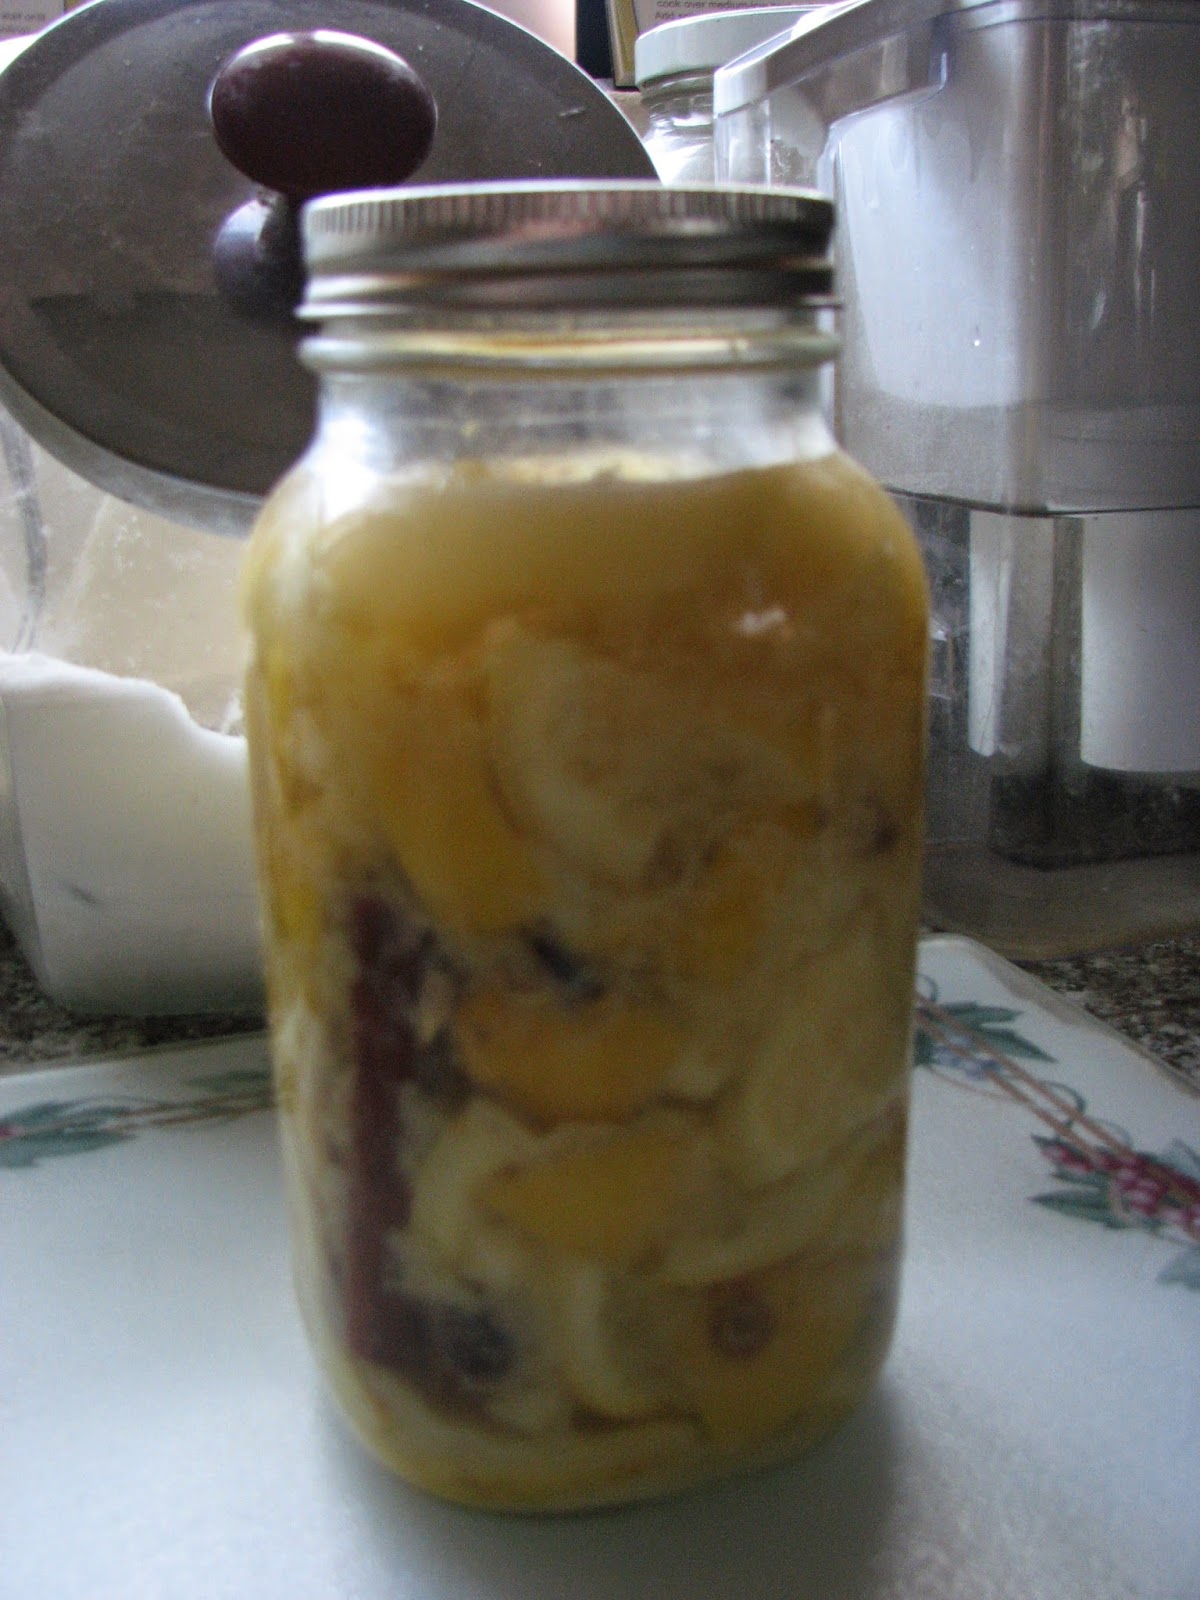
Once you have the lemons compacted as tightly as possible, and covered in lemon juice, screw the lid on the jar and set on your counter. Once a day, turn the jar upside down, and back upright again to move things around a bit. Let it sit on your counter for about two weeks until the lemons have fermented and are bubbly.
After the lemons have fermented, transfer the jar to the refrigerator. Now your preserved lemons can be used in any recipe calling for lemon juice, zest or peel... and for sure in that wonderful steaming mug of hot lemon tea!
I am waiting for my lemons to finish fermenting, and can't wait for my very first cup of hot lemon tea :)
If you would like to print off the recipe for the lemon preserves, here it is:
7 organic lemons (divided)
3 Tbsp sea salt
3 cinnamon sticks (optional)
Pinch of cloves (optional)
Cut 5 lemons into thin slices, and then quarter the slices and transfer to bowl. Add in the sea salt, cinnamon and cloves. Stir to mix together. Scoop lemons into a clean wide-mouth quart-size jar. Smooch the lemons down with a spoon to release the juices. Keep squishing until all the lemons fit. Squeeze the remaining lemons to release their juice. Pour the juice over the lemons just enough to cover the lemons, leaving 1" head space to allow for fermentation. Screw the lid on the jar. Allow the jar to sit on your counter for about two weeks, turning upside down, and upright again once a day. Once fermentation takes place, the lemons will look bubbly. After fermentation, transfer the jar of lemons to your refrigerator and use in any recipe calling for lemon juice, zest, or peel... or in a cup of hot honey lemon tea!

One thing that I've always used to help fight back against colds is hot tea with a dollop of honey and a squeeze of lemon juice or perhaps apple cider vinegar, just depending on what is on hand. It is not often in the winter that I stock lemons, and so when I saw this recipe for preserved lemons, I immediately placed lemons on my grocery list for the week, and intended to try this out. This way, I'll ALWAYS have lemons on hand, ready for that cup of hot tea in a jiffy!
I found the recipe for the Preserved Lemons from Shaye Elliot's book "From Scratch" (which, by the way, is an amazing book!). Here's how I made them...
First off, you want to scrub the lemon skin really well, because you will be preserving the entire lemon. It is best if you can use organic lemons. I couldn't find any organic lemons in my local market, so I went with what I could find.
Take the lemons, and slice them up, and then quarter each slice. Place the lemons in a bowl.
Add 3 Tbsp sea salt, 3 cinnamon sticks, and a pinch of whole cloves.
Now comes the fun part. Take your lemons, and add them to a clean quart-size jar. Pack the lemon mixture in tightly, pressing down with a spoon to squeeze out as much juice from them as possible.
Here you can see the juices being released from the lemons.
You will need the juice from an additional 2-3 lemons poured over the lemons in order to completely cover the lemons in juice. Leave at least 1-inch of head space to allow for expansion during fermentation.
Once you have the lemons compacted as tightly as possible, and covered in lemon juice, screw the lid on the jar and set on your counter. Once a day, turn the jar upside down, and back upright again to move things around a bit. Let it sit on your counter for about two weeks until the lemons have fermented and are bubbly.
After the lemons have fermented, transfer the jar to the refrigerator. Now your preserved lemons can be used in any recipe calling for lemon juice, zest or peel... and for sure in that wonderful steaming mug of hot lemon tea!
I am waiting for my lemons to finish fermenting, and can't wait for my very first cup of hot lemon tea :)
If you would like to print off the recipe for the lemon preserves, here it is:
Lemon Preserves
7 organic lemons (divided)
3 Tbsp sea salt
3 cinnamon sticks (optional)
Pinch of cloves (optional)
Cut 5 lemons into thin slices, and then quarter the slices and transfer to bowl. Add in the sea salt, cinnamon and cloves. Stir to mix together. Scoop lemons into a clean wide-mouth quart-size jar. Smooch the lemons down with a spoon to release the juices. Keep squishing until all the lemons fit. Squeeze the remaining lemons to release their juice. Pour the juice over the lemons just enough to cover the lemons, leaving 1" head space to allow for fermentation. Screw the lid on the jar. Allow the jar to sit on your counter for about two weeks, turning upside down, and upright again once a day. Once fermentation takes place, the lemons will look bubbly. After fermentation, transfer the jar of lemons to your refrigerator and use in any recipe calling for lemon juice, zest, or peel... or in a cup of hot honey lemon tea!
Subscribe to:
Posts (Atom)


.jpeg)





Social Icons