

Once again, winter has arrived in March! Many people in the comments shared that they have had an unusual winter, just like us here in North Idaho. In late January, we experienced frigid temperatures, with the lowest reaching -23 degrees, not factoring in windchill. A chinook or warming wind arrived two days later, increasing temperatures by over 60 degrees in just one day. This rapid warming caused all the accumulated snow to melt, giving us a taste of spring and allowing me to do some gardening. February followed a similar pattern - abundant rain, with occasional snow, but a hint of spring in the air. March came and it's been nonstop snowing ever since. Every day in March has seen snowfall, and today marks the 4th day. Despite my love for snow and knowing how much we need the moisture, I am not complaining, but sharing how strange this winter has been!
 |
| My garden is under its new blanket of March snow! |
 | ||||||
Little bits of joy - sunshine sparkling on the crisp snow on my clematis - awaiting spring patiently!
|


 |
| Last week, as Riley and I were walking, we saw this large elk herd on our neighbor's property. |
 |
| Elk are very skittish, and as soon as I stopped walking, and took out my camera - they moved quickly away, back into the cover of the forest. |
 | ||||
| In my keto journey, I've been using almond milk, and making my own rather than using dairy. All in limited quantities of course - but here is my process for making almond milk. HOMEMADE ALMOND MILK 1 cup organic almonds 5 cups water Dash of salt Mix all ingredients in a bowl, cover, and let sit overnight. In the morning, drain the liquid. Add almonds to the blender, with 5 cups of fresh water. Blend on high until smooth. Using a nut milk bag, or clean tea towel, strain almonds from the milk, squeezing until the almond meal is dry. Pour milk into a glass container. Stays good for 4-5 days. NOTE: Almond meal can be dried and used as almond meal flour - spread on parchment paper on the sheet pan and bake at 200 degrees until dry to touch about 1 hour. Refrigerate. Then... once you have your homemade almond meal from your almonds - you can stretch that 1 cup of almonds a little farther, and you can make homemade Sourdough Almond Crackers! HOMEMADE SOURDOUGH ALMOND CRACKERS  1/2 cup almond meal 1/4 cup bacon grease (melted butter can also be used) 1/2 cup sourdough starter, freshly fed 1 tsp sea salt 1/2 tsp seasoning of choice - Everything Bagel, Italian, garlic etc. Mix all ingredients together until it forms a ball. If the dough is dry, add more bacon grease until you have a workable dough. Cover in a bowl and refrigerate. After at least 30 minutes, place the ball onto a parchment sheet placed on a cookie sheet. Place a parchment paper over the ball. Using a rolling pin, roll out the dough to the edges of the sheet, until very thin. Slice the dough with a sharp knife into small squares. Bake at 350 for 20 - 25 minutes. Remove from oven, and allow crackers to cool on cookie sheet. Store in an airtight container.
I am of the mindset to use up every bit of everything I can and make it useful. Isn't it great that from 1 cup of almonds, you can get 5 cups of almond milk and 1 cup of almond meal which can be used in other recipes‽ ?! By the way - I learned something this week! Do you know what an interrobang is? (I used it at the end of the last paragraph) Well, I did not - but it is this little punctuation marker created back in the 1960's indicating a question asked in an exclamatory manner. It looks like this ‽ It is basically an exclamation mark and a question mark together. Have you ever used or seen one of these before? I thought it was a fun piece of information to learn :) You can find more information about interrobang here on the Merriam-Webster site :) Interrobang |


 |
| I've got seeds started in the greenhouse! I use seedling mats to keep them warm. I have not had to heat my greenhouse this year. If the temps drop down into the teens, I will put out a heat lamp, but the seedlings are fine on the mat with temps into the 20s. |
 |
| I don't buy expensive pots to put my seedlings in. I simply use plastic grocery store containers with plastic lids. I make holes in the bottom for drainage and keep the containers covered. This process has worked for me for many years! |
 |
| My neighbor's Australian Shepherd puppy, whom I've been "puppy-sitting" is wiggling her way further into my heart! She is just so adorable. |
 |
| She and Riley enjoy playtime in the garden, a safe place where she can run to her heart's content without too much freedom. In her puppy stage, she has no clue about roads and wild animals, so this is a safe place for her to play unleashed for now - at least while it is still winter! |
 |
| She and Riley are masters at their silly dog games! |
 |
| Riley is a good "momma" influence to Bejeweled and makes me think... is it time for me to get another puppy? |
 |
| After playing in the garden, she was so exhausted, covered in snowballs, that she just collapsed once we got inside! |
 |
| Sound asleep by my chair as I worked on this blog post :) |
 |
| On the 28th of February last year, I took Annie on her last walk. We knew she had been failing, and I had found a back brace for her that enabled her to walk. She was so happy in that snowstorm as we walked. I let her off the leash, and let her explore to her heart's content. |
 |
| Annie never liked the camera, and would never look at the camera. Thankfully I did get this picture of both of us enjoying the snow just days before she passed. On March 3, 2023 - a day that hurts to remember still - Annie couldn't walk to the door. I had to carry her to the car. I was home alone, and somehow, I managed it. She was in pain and I was sobbing. At the vet's office, we found she had advanced-stage cancer, and we had to let her go. I called my family on a conference call, and the vet kindly gave us all the time we needed, as each one of my family members told her how much they loved her. Her passing left a gaping hole in our life. She was a dog that understood me, and loved us - we were her world. She and I shared a love of the snow, and walking together - we both would happily walk all day long if we could! We know she lived her best life with us, and though we will always miss her, she was a special one-of-a-kind dog - and we've had a lot of dogs. Her memory will never be forgotten. This passage of scripture has spoken to my heart this week - I wanted to share it with you: .png) I worked on a new video this week - one that you can use as background music for your Easter/Lent/Passover time of remembering the Lord. If you watch the video closely, you will see a picture of me enjoying a sunrise on the shores of Prince Edward Island. We visited the Island while in New Brunswick visiting my Gram in October 2022 as she was so ill. It was a special morning, the sunrise was so magnificent as it rose over the Charlottetown, PEI harbor, and the song I chose to pair it with is "It Is Well With My Soul". Indeed, that song still ministers greatly to my heart today. Life is full of ups, downs, joys and sorrows, health and sickness, worry and praise. But - through it all, I can still say, It Is Well With My Soul. May this video be a blessing to you, and please know that each one of you remains in my prayers - the days we live in are troublesome, and worries are many. Prayer sustains us! We must keep our thoughts on Him while looking at all the beauty He has created in this world for us to enjoy. God bless each of you! |

Happy first week of April!
This year is moving right along, before you know it, half the year will have passed. We are enjoying beautiful spring days here... sprinkled with lots of rain, and mixes of sunshine, and snow/slush/hail, and then beautiful clouds in the skies. This is spring in North Idaho!
 |
| Crocus springing up in my garden! |

As the days of January's winter drag on, the landscape remains encapsulated in a fog that grasps the world in its wispy embrace. Our area has a weather system that has been with us since January 10th, when the fog arrived. This is not uncommon for our area, as we live between mountain ranges, and oftentimes weather systems get "trapped" between the ranges, and stay for days. Soon, they tell us another weather system will move in, but for now, the clouds are low-hanging, and fog dominates the landscape.
|
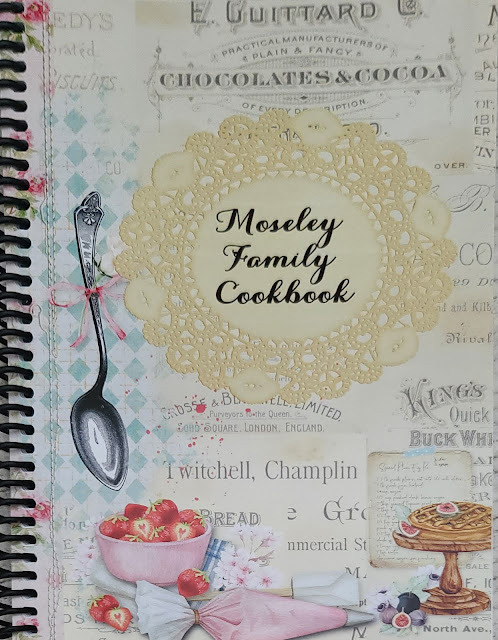
| My completed Moseley Family Cookbook |
Through the span of approximately the last five years, our children have moved away from home and then back again. You may remember our daughter lived in Spain for five months as an overseas student. Our son had taken a job that required him to commute quite far from home so he moved into an apartment an hour away from us. Soon things changed, and he came back home to work with us in our family business, but he has his own separate living quarters on our property now. Our daughter married a year ago, and has her own home now, something we are all very excited about. Our son became engaged over the New Year, and there will be wedding bells ringing in 2022. Exciting times for our family :)
So, through the years, as our children were on their own for periods of time, I would often get requests on how to make special family treats and meals. The recipe would be jotted down and sent off. Sometimes, however, the recipe asked for was one in my head! There was NO recipe for it! The struggle was real :)
Have you ever experienced that? You've made a favorite family meal for years, but have never taken the time to put it together in a written format?
That became my dilemma. I really needed to put some of these recipes into a format that my children could continue to enjoy for years to come.
I began a search for an online cookbook that would allow me to enter my recipes, and print them off for my children. I did a lot of research and settled on this amazing company, the Family Cookbook Project. I can only speak with the highest regard for this company. From beginning to end of this project, I was encouraged along the way with incredibly helpful videos, how-tos, and newsletters. I found their website very easy to navigate in order to complete our family cookbook.
Here are some pictures of the cookbook I created. The front cover was a designer paper created by the amazing KerryAnne at Shabby Art Boutique from her Handmade Club designs.
 |
| I gave the cookbooks to the children at Christmas... but look who was also excited to check it out :) Our sweet curious kitty, Miss Ash. |
 |
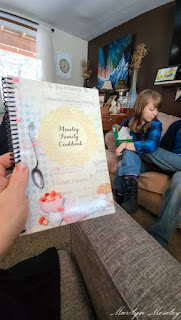
| A closer look at the cookbook. I loved the layout options available. |
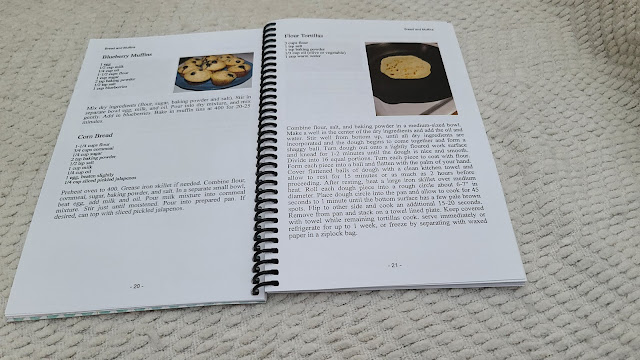 |
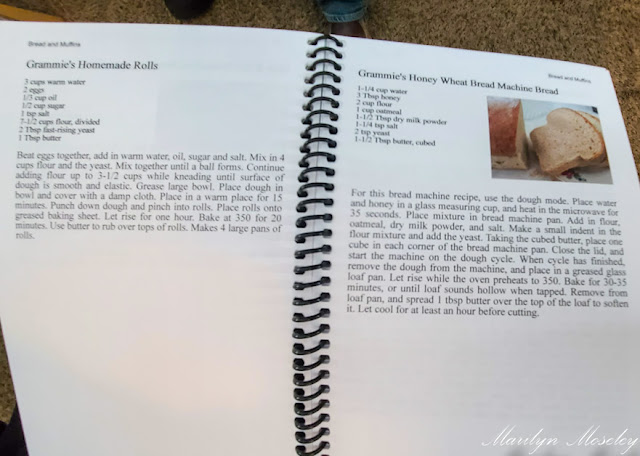
| The spiral binding is wonderful, the book lays completely flat and is easy to use. You can add pictures wherever you desire. |
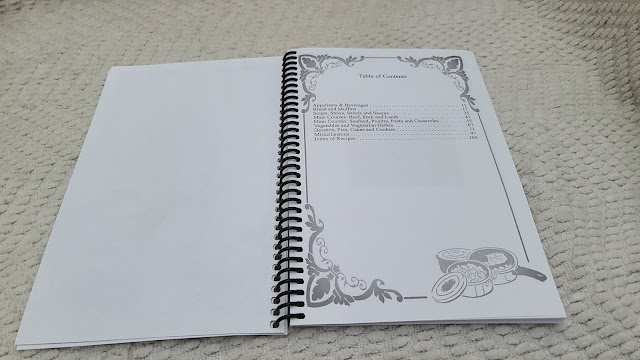 |
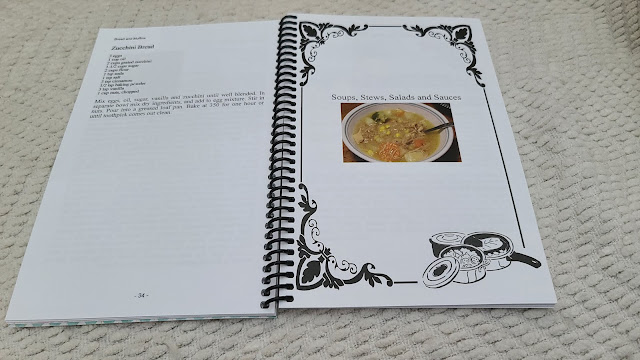
| The website is so easy to navigate. You can easily put your recipes into categories where they are easily found with a Table of Contents provided. |
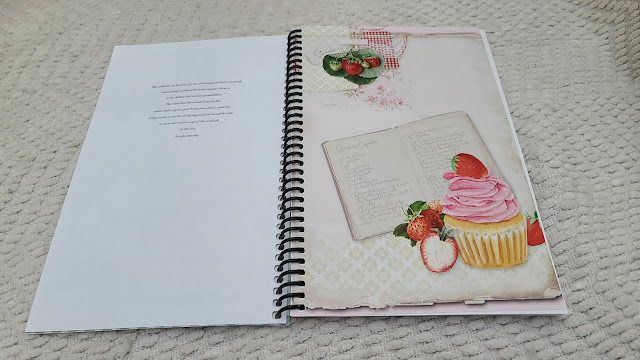 |
| The options are really endless as to how you would like your cookbook to look. |
I went with a very simple and clean design for my cookbook. You can make the book as customized as you like, adding stories, pictures, tips, and more. I loved all the options, and the website design page was very easy to navigate.
After receiving my cookbooks and seeing the excitement my children and I felt as we looked through the cookbook and talked about the special recipes included, I knew I needed to pass on this joy.
So just a few days ago, I called the Family Cookbook Project, and spoke to Chip, the creator of this website, and asked him if he had a promotion or giveaway that I would be able to offer my blogging friends. He was so agreeable and helpful and came up with a very generous giveaway for you, my readers!
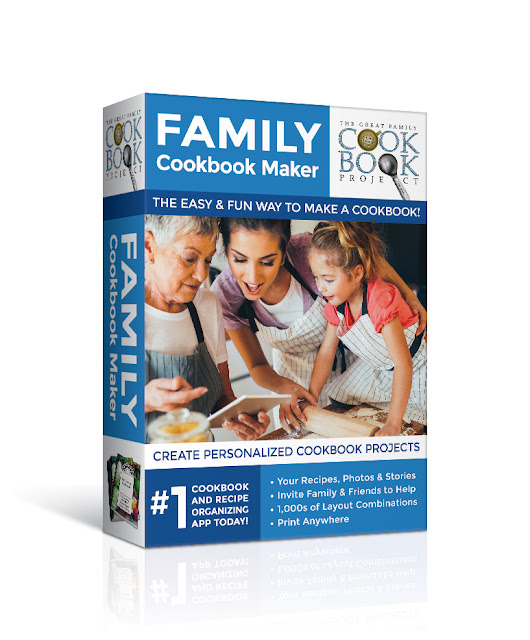
Chip has graciously offered a giveaway for one of my blog readers! The Family Cookbook Maker's regular price for a lifetime subscription is $99.95. Chip has generously offered to give away ONE LIFETIME SUBSCRIPTION to the Family Cookbook Project! Isn't that awesome! I was not expecting such a generous offer, but how appreciative and thankful I am for their generosity!
So... here are the details for the giveaway! Starting today until next Sunday, January 16 the giveaway will be open to anyone in the WORLD! If you have access to the internet, this is open for you. The only rules are to leave a comment below, and if you feel so inclined... share a favorite recipe of yours for all my readers to see... I think that would be fun! We will keep things simple though, your comment gets you entered into the drawing :) Please make sure you are commenting with an email where you can be reached should you be the winner. 😊
Please drop by the Family Cookbook Project website, and poke around. There is a free trial where you can try out the cookbook project to see if it is something that you would like to do. You can use this link here: https://www.familycookbookproject.com/mts
I will share the winner in a post next Monday, January 17th... so please share and tell your friends and family about this post, or even just share this link to the Family Cookbook website!
Blessings to all!

Harvest time has begun in the garden... well... we've been enjoying things all summer long out of the garden of course, but the real, in earnest season of harvest is upon us now. Even though it is still August, Fall is dancing around the door with whispers of cool air in late evenings and early mornings that speak of the days coming when summer will have said its goodbyes.


I had mentioned in a previous post that I make my own sourdough bread. Making your own bread is quite satisfying in so many ways. So today I wanted to share the sourdough recipe that I have perfected over the years. This one is so simple, doesn't require much kneading at all, and the bread turns out incredibly light and tender every time.
Sourdough Bread Recipe


What is it about the long winter days of January that call me into the kitchen? I do find something quite comforting about spending time in the kitchen, baking and cooking up wonderful things for my family to enjoy.
Recently I enjoyed an outing with some of my dear friends to a local Greek restaurant. It was a lovely way to spend a drizzly, rainy day in January.
 |
| If you are a local to the Post Falls area, most likely you will recognize this restaurant for its incredibly good food... that is FULL of garlic! Oh yes, this restaurant specializes in all things garlic... and they have a reputation in the community for their amazing food! |

Each one of us responds to a virus/flu/cold bug differently, with many different variables. I am hopeful that with this compiled list of flu/cold busters that perhaps there will be a remedy listed here that will help you should you need a line of defense against the flu bug.
Below I have listed the remedies we tried, all of which seemed to bring welcome relief.


These Southern-Style Momma's Chicken -n- Dumplings are the most requested comfort dish known to my family.


To begin with, I washed the pumpkin, and sliced it in half from stem to bottom.

Place it face down in the baking pan, and pour 1 cup water in the pan.

Roast the pumpkin at 350 for about an hour, or until a fork pierces the skin easily. Scoop out the seeds. I gave the seeds to my chickens... they loved them!

Scoop out all of the pulp and place it in a blender.

Blend the pulp until smooth.

Most pie pumpkins will be enough for two pies. I found that because the pumpkin is fresh it is a bit more watery, and may take longer to cook. I ended up cooking these fresh pumpkin pies an hour and 10 minutes.
I meant to get a picture of the pie with sweetened cream on it... but it was too good to wait for such silly things as pictures! (Or so my family tells me...)
If there are leftovers, this makes a great breakfast too :)
Heat oven to 350. Slice pie pumpkin in half, and place sides down in baking pan. Add 1 cup water. Bake about an hour or until a fork pierces skin easily. Remove seeds. Scoop out pulp and set aside. Place pulp in blender, blend until smooth.
1-1/2 cups white sugar
2 tsp cinnamon
1 tsp salt
1 tsp ground ginger
1/2 tsp cloves
4 eggs
3-1/2 cups pureed fresh pumpkin (2 15-oz cans of canned pumpkin will also work)
2 cans evaporated milk
2-crust 9" deep dish pie crusts
Heat oven to 425 degrees. Prepare pie crusts (recipe below) and place in two 9" deep dish pie pans. Mix eggs and pumpkin until smooth. Stir in sugar and spices. Slowly pour in evaporated milk. Pour pumpkin mixture into the 2 pie crusts. Bake at 425 degrees for 15 minutes. Turn heat down to 350 and continue baking for another 45 minutes. A knife stuck in the center should come out clean when they are done. Cool on rack for 2 hours. Serve with sweetened whipped heavy cream (recipe below). Cover and refrigerate leftovers.
1/2 tsp salt
2/3 cup shortening or lard
1 tablespoon white vinegar
5-6 tablespoons ice cold water
In a bowl combine flour and salt, cut in shortening (or lard) until mixture is crumbly. Sprinkle with vinegar. Gradually add water, tossing with a fork until a ball can be formed. Cover and refrigerate for 30 minutes. Divide pastry into 2 balls and roll out to fit the 9" pie plate. Transfer pastry to pie plate. Let edges hang over 1/2". Fold top edges of pastry under and flute edges. Bake as called for in recipe.


.jpg)


Social Icons